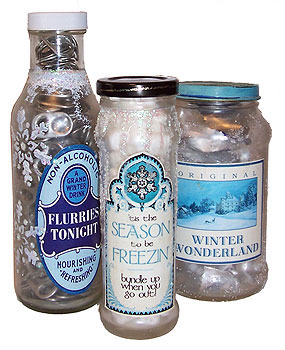
 These frosty bottles, edged with faux snow, are decorated with images from the Winter Labels sheet to create lovely winter decorations.
To make your own bottles, you’ll need:
- A label sheet from Ten Two Studios. I used the Winter Labels for these samples.
- Glass bottles. I save all the clear glass bottles from the kitchen.
- Matte medium and a sponge or brush.
- Glitter and glitter glue, if desired.
- Stencils and gesso, if desired.
- Diamond Glaze, or a shiny glaze of your choice.
- A sanding block, if you wish to remove the coloring from metal lids.
- Rub n Buff, if you wish to color metal lids.
- A glossy spray sealer.
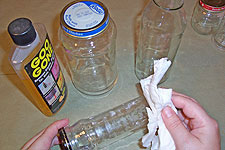 Start with clean, dry bottles. I let mine soak in the kitchen sink for an hour or so, then peel any labels off. Once they’re dry, any glue residue can be removed with a little bit of Goo Gone
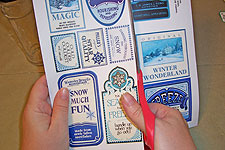 Cut out the labels you’ve chosen, and make sure they’ll fit on your bottles. Some of the labels on each sheet were designed to be adjustable—they have sections you can trim away to make them a bit smaller.
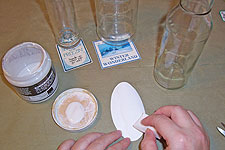 Grab a label and its bottle, and work quickly. First, apply a light coat of matte medium on the back side of the label, and set it aside.
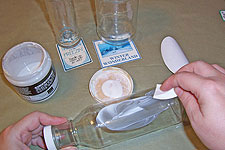 Apply a light coat of medium to the section of the bottle that will be covered by the label. Remember, work quickly, and don’t worry about being to precise about this step.
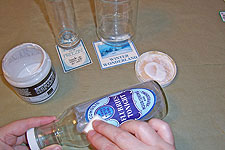 Press the damp side of the label into the wet area of the bottle, and smooth it into place. I usually stand the bottle up before pressing, to make sure I have the label straight.
Apply a very light coat of medium over the label, paying particular attention to the edges, and smoothing the label down as you work.
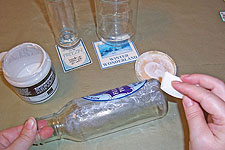 Now, apply a heavier coat of medium all over the bottle EXCEPT on the label. I applied mine with a sponge, dabbing it on—this will also work with a coarse brush. Let this coat dry, and the bottle will appear slightly frosted. If you want heavier frosting, apply another coat and let it dry. More medium = more frosting.
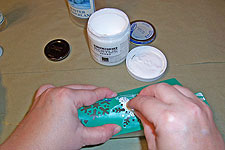 On the first bottle, I used a purchased stencil and some gesso to apply snowflakes on the frosted bottle. I let the snowflakes overlap the label just a bit. Just hold the stencil in place, dab on a light coat of gesso, then lift the stencil away.
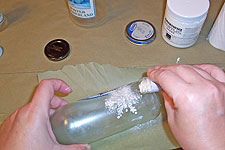 While the snowflakes were still wet, I dumped some glitter on them, then stood the bottle up and tapped it on the table to remove the excess.
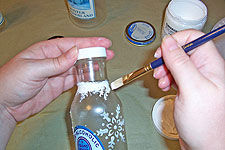 I added a little more gesso around the top edge of the bottle, and a little more glitter.
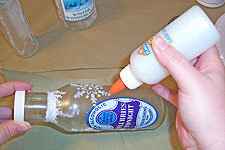 When all the gesso and glitter were dry, I added a bit of glitter glue here and there, to highlight the snowflakes.
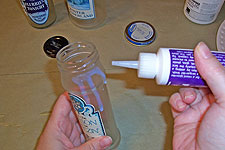 I decided to decorate the second bottle with faux icicles. I squeezed Diamond Glaze right at the rim, and let it run down the sides of the bottle. (Be sure to let this dry on plastic, so it won’t stick to your work table—don’t ask me how I know to tell you that.)
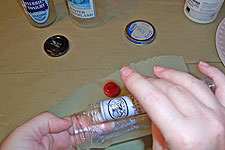 When the Diamond Glaze was starting to set up, I tilted the bottle and sprinkled glitter all over it, tapped the it against the table to release any excess, then set it aside to dry. Again, I used a little glitter glue on the dry bottle to accent.
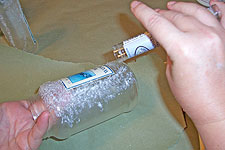 The last bottle was the simplest of all: I simply dabbed medium around the label, and sprinkled glitter onto it.
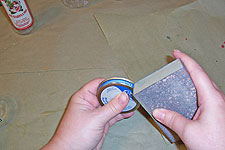 Two of the bottles had lids that would work as is: one was black metal, and the other was white plastic. The third was blue and white, but had logos and writing all over it. I sanded the lid with a sanding block to prepare it for refinishing.
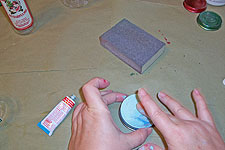 A little verdegris Rub n Buff, a quick wipe with a cloth, and I have a brand new lid.
I gave each bottle a blast of spray sealer, just to keep the glitter from shedding all over the place.